Getting Started with Xamarin.Forms
Introduction
Over the next few posts, we are going to walk through the steps taken to develop a cross platform mobile application using Xamarin.Forms and ReactiveUI.
We are going to keep each article short and focused on a particular task required to develop and deploy our mobile application.
The articles will start off fairly basic but will build in complexity as the app progresses and we try to solve less trivial problems.
Throughout this series, I'll be using the latest version of Visual Studio for Mac.
The App
The application that we will be developing, will be used to teach developers how to use Xamarin.Forms and ReactiveUI. It will host all of the content of this blog series, as well as a few additional features that we'll add along the way.
Creating a New Project
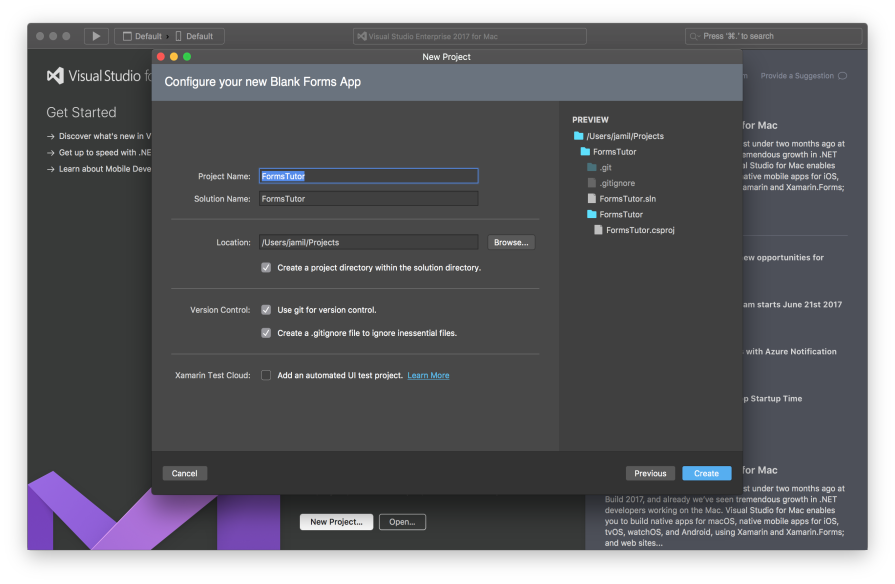
Let's get started! The first thing we need to do is create our project. Follow the below screenshots to setup your new project.
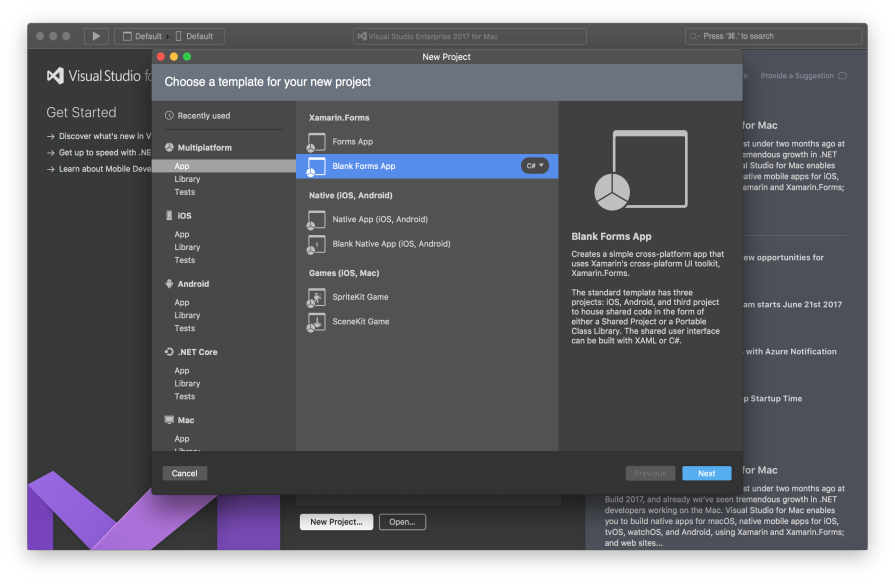

Portable Class Library vs Shared Library
When setting up your project you will need to decide between using a Portable Class Library or Shared Library for containing your app's common code.
I prefer to use a PCL, they aren't without their drawbacks, however, I like the overall approach of separating your platform specific code from your common code, using a PCL and the service locator pattern. It provides a nice clean solution for structuring your cross platform app.
Below is an example of how you might use platform specific sound api's from either your common PCL or Shared project code.
Portable Class Library
var soundService = DependencyService.Get<ISoundService>();
soundService.Play("mysound.wav");
Shared Library
#if __IOS__
  var songURL = new NSUrl("mysound.wav");
  NSError err;
  var soundEffect = new AVAudioPlayer (songURL, "wav", out err);

  soundEffect.FinishedPlaying += delegate { soundEffect = null; };

  soundEffect.NumberOfLoops = 0;
  soundEffect.Play();
#elif __ANDROID__
//Android implementation goes here...
#endif
What the PCL example doesn't show you, is that you are still required to develop the platform specific code as shown in the Shared Library example. However, the platform specific code would live in the platform specific project. We'll dig deeper into how this works in a later post.
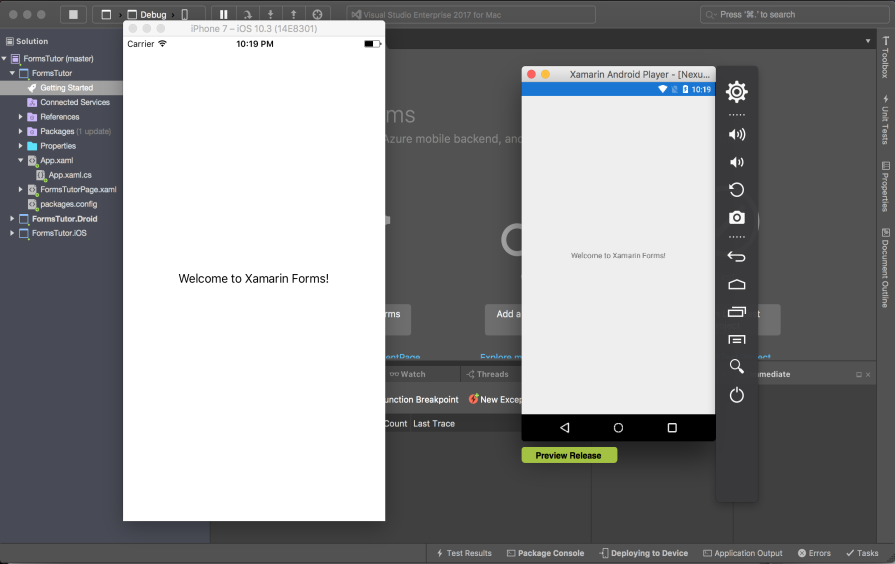
Build and Run
Now that we've setup our project, let's make sure that it builds and runs correctly.
Summary
Hopefully, you've now got your basic project setup, and all running correctly. If you're having any trouble in getting the basic project up and running, the best place to ask questions is the Xamarin Forums you'll almost certainly find the answers to all your problems there https://forums.xamarin.com/.
In the next post we'll be covering how to use the List View.
Full source code for this post can be found here:
https://github.com/jamilgeor/FormsTutor/tree/master/Lesson01