ListView ItemTemplate with ReactiveUI ViewModel
Introduction
In this article, we are going to build upon our ListView example by including a DataTemplate for customizing the layout of our ListView items. We'll also work through how to bind our new ItemTemplate to our ReactiveUI ViewModel.
Updates to our ViewModel and Model
Before we get into creating our ListView ItemTemplate, let's make some modifications to our ViewModel.
Previously we were simply binding our ListView to a ReactiveList of String elements. We will now update our ReactiveList to represent a list of Article objects.
ReactiveList<Article> _articles;

public ReactiveList<Article> Articles
{
    get => _articles;
    set => this.RaiseAndSetIfChanged(ref _articles, value);
}

public ArticlesViewModel()
{
    Articles = new ReactiveList<Article>();
    ...
}

void MapArticlesImpl(IEnumerable<Article> articles)
{
    using (Articles.SuppressChangeNotifications())
    {
        Articles.Clear();
        Articles.AddRange(articles);
    }
}
We are also going to add a new Property to our Article model, to include a CreatedAt timestamp.
public class Article
{
    public string Title { get; set; }
    public DateTime CreatedAt { get; set; }
}
Defining an ItemTemplate
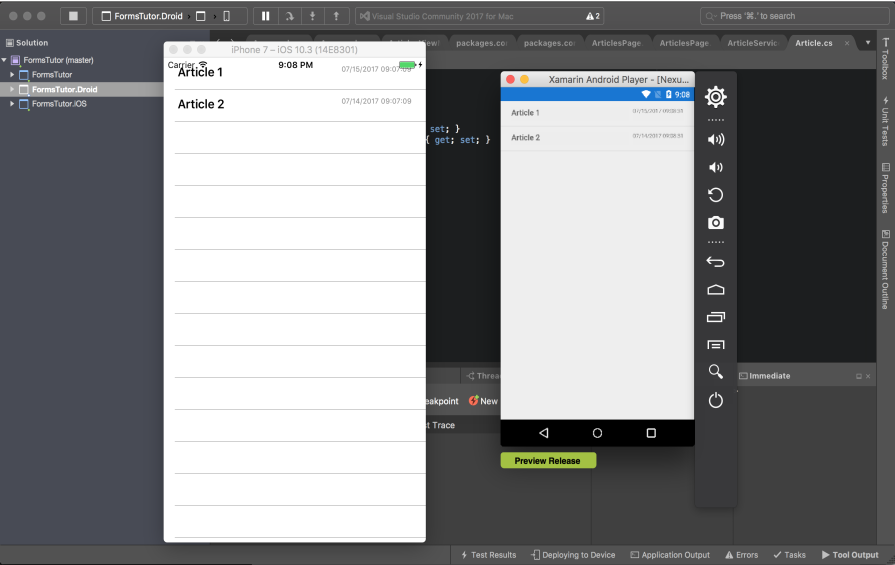
The below example demonstrates how we define our ItemTemplate. For this example we are going to be showing to pieces of information, the title and the creation date of the article, that is represented in the list.
<ListView x:Name="Articles" IsPullToRefreshEnabled="true">
    <ListView.ItemTemplate>
        <DataTemplate>
            <ViewCell>
                <StackLayout Orientation="Horizontal" Padding="20,10">
                    <Label FontAttributes="Bold" Text="{Binding Title}" HorizontalOptions="FillAndExpand"/>
                    <Label Text="{Binding CreatedAt}" FontSize="10" TextColor="Gray"/>
                </StackLayout>
            </ViewCell>
        </DataTemplate>
    </ListView.ItemTemplate>
</ListView>
Binding our ItemTemplate to the ViewModel
You'll see in above example, that we are simply specifying our bindings in the template, unlike in our previous examples where we have specified our ReactiveUI bindings in our code behind file. This is simply because at the time of writing this, I am unaware of an easy/elegant way of creating these bindings in the code behind file using ReactiveUI.
Summary
That's all there is to it! In this article we covered the basics of binding a more complex object from our ReactiveUI ViewModel to our Xamarin.Forms ListView using a DataTemplate.
Full source code for this post can be found here:
https://github.com/jamilgeor/FormsTutor/tree/master/Lesson05