Creating ListViews with Xamarin.Forms
Introduction
In this article, we are going to setup the initial the article list page and set this up as our application's main page.
Cleaning up
Before we get started, let's remove the default page that Visual Studio setup for us.
Creating a new page
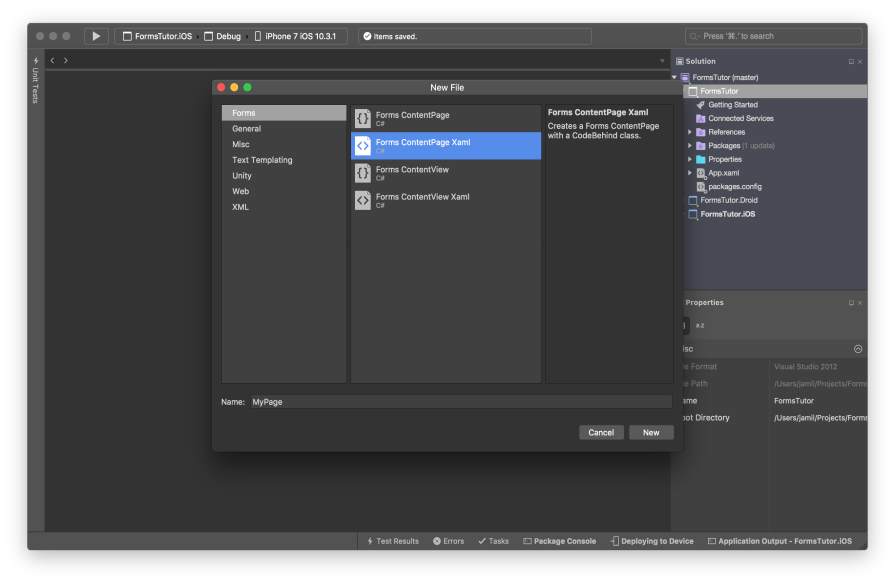
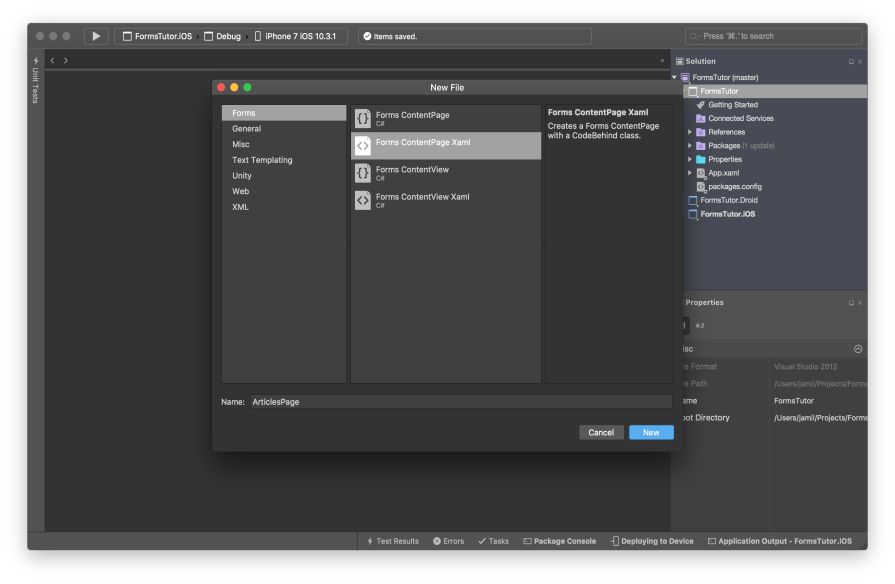
Right click on the "FormsTutor" project and select "Forms ContentPage Xaml".
Once the new page is created we'll need to set it as the default page for our application. To do this find the App.xaml.cs file and modify the code as per example:
public App()
{
  InitializeComponent();
  MainPage = new ArticlesPage();
}
Adding a ListView
To add a list view to our new ArticlesPage open the ArticlesPage.xaml file and add a ListView as per below example:
<?xml version="1.0" encoding="UTF-8"?>
<ContentPage xmlns="http://xamarin.com/schemas/2014/forms" xmlns:x="http://schemas.microsoft.com/winfx/2009/xaml" x:Class="FormsTutor.ArticlesPage">
	<ContentPage.Content>
		<ListView x:Name="Articles">
			<ListView.ItemsSource>
				<x:Array Type="{x:Type x:String}">
					<x:String>First Article</x:String>
					<x:String>Second Article</x:String>
					<x:String>Third Article</x:String>
				</x:Array>
			</ListView.ItemsSource>
		</ListView>
	</ContentPage.Content>
</ContentPage>
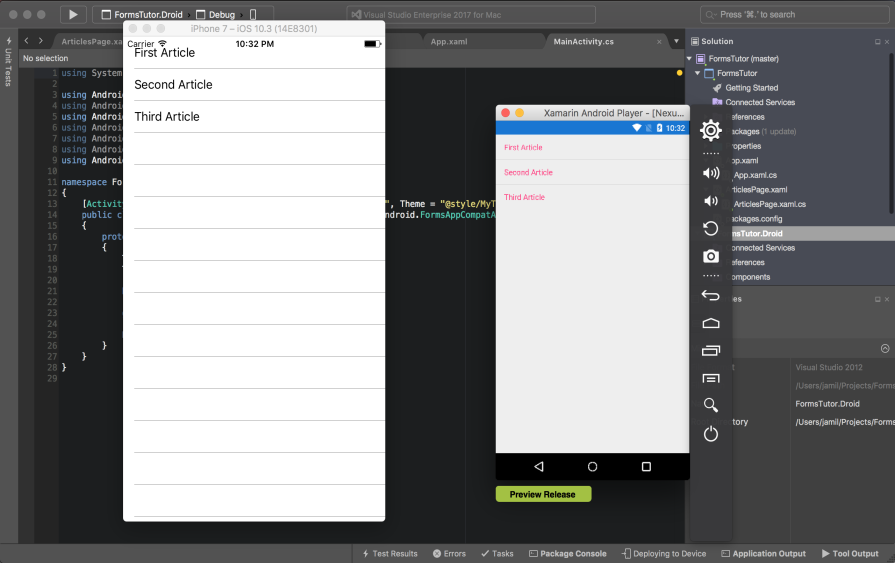
For demonstration purposes, you'll see that we've added in some static content to the list. We've done this by setting the ListView's ItemsSource property to a new string array with some predefined values added to it.
Summary
This is a very trivial example of how to add a List View. In future articles we will be work through binding real data to the list, and adding more functionality to the list items.
In the next post, we'll explore how to setup your first ReactiveUI View Model and bind it to a List View.
Full source code for this post can be found here:
https://github.com/jamilgeor/FormsTutor/tree/master/Lesson02